Overview
I created this stop motion animation using a Sticky Bones figure, lit with an LED desk lamp and a battery powered RGB LED light. I chose to do this project for my digital independent study class, as it was a perfect mixture of many of the skills I have learned through my time at SAIT: photography, video production, VFX, and animation. It was mostly animated on two’s at 12FPS, with some elements and sections running at 24FPS. I used a simple tripod setup for much of the shots, but for some I duct taped the tripod legs to the floor for more stability during shooting.
Since the scenes were being shot in my closet, my set design ended up essentially being just that – A cluttered closet setting with some shoes and an old boombox stereo with some VHS tapes on top. Since that was what I was working with, I wanted to achieve a cartoony style, somewhat inspired by Toy Story. Before I had the set design however, I had to create a simple story and storyboard it out to get an idea of how I would be shooting and getting the necessary materials prepared.
I had the idea of doing something involving no more than a single character, as this was my first attempt at making a high quality stop motion animation. I knew it would require a lot of post production to get it to a solid finished state that I would be happy with. Keeping a single character in mind, I decided to have him interact with a static object, deciding on this plastic emerald I had in my possession during the time I was coming up with the idea.
Storyboards
I created the storyboards with the idea of the simple concept of a character trying to get an object out of reach in mind. Throughout the process of doing the storyboards, I was still unsure of exactly how I would be shooting and what my set would look like. All I knew was that it was going to be shot in my closet at home and had a maximum runtime of 30 seconds [15 seconds minimum].
Proof of Concept
For this project, I was responsible for pitching it to my instructor and defining deliverables and details regarding the project. In this case, I decided to include a short proof of concept video alongside the project pitch.
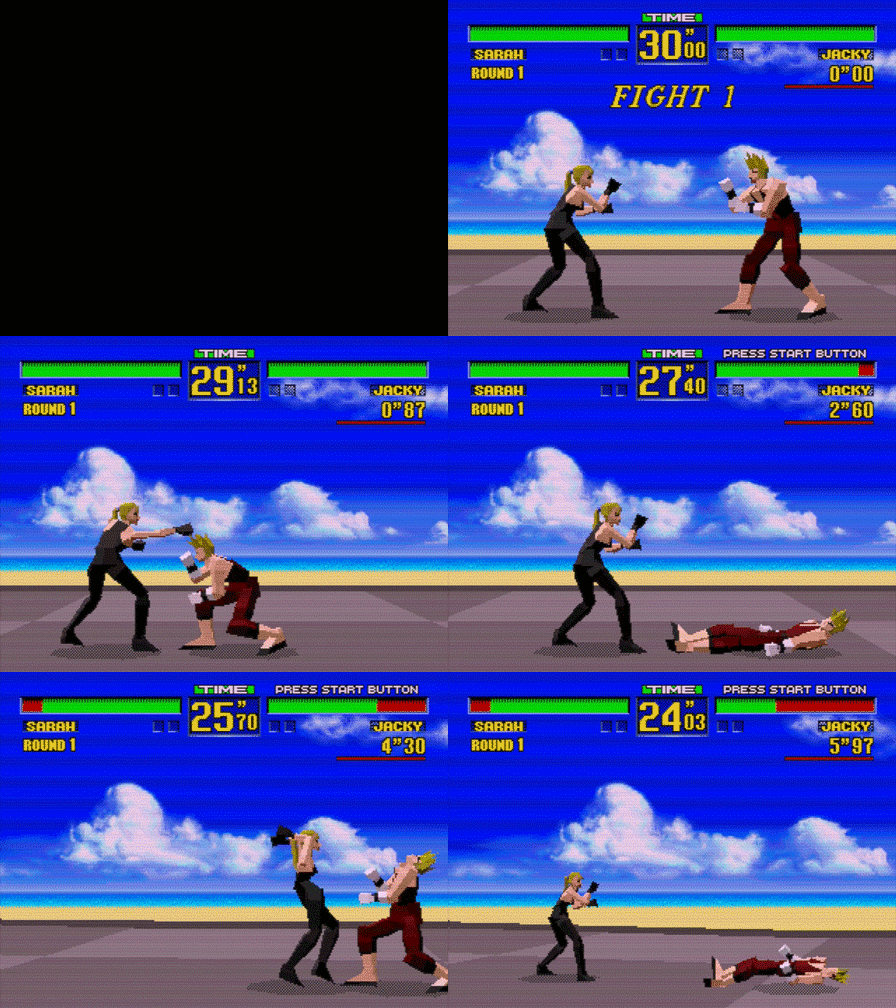
I utilized this Sarah Bryant figure for the proof of concept, as I had a rig for it, and it offered a nice amount of articulation to work with. Using this figure also gave me a solid reference point for animating as I was able to record some gameplay footage of Virtua Fighter and reduce the framerate to 12 FPS in order to use as a frame by frame reference for the animations I would be creating using this figure.
I found the process of doing this proof of concept to be very beneficial to the end result and overall process of the final animation I ended up producing. I learned some potential problem areas for shooting and what to do in order to solve them for the shoot of the ‘Sticky & the Emerald’ animation.
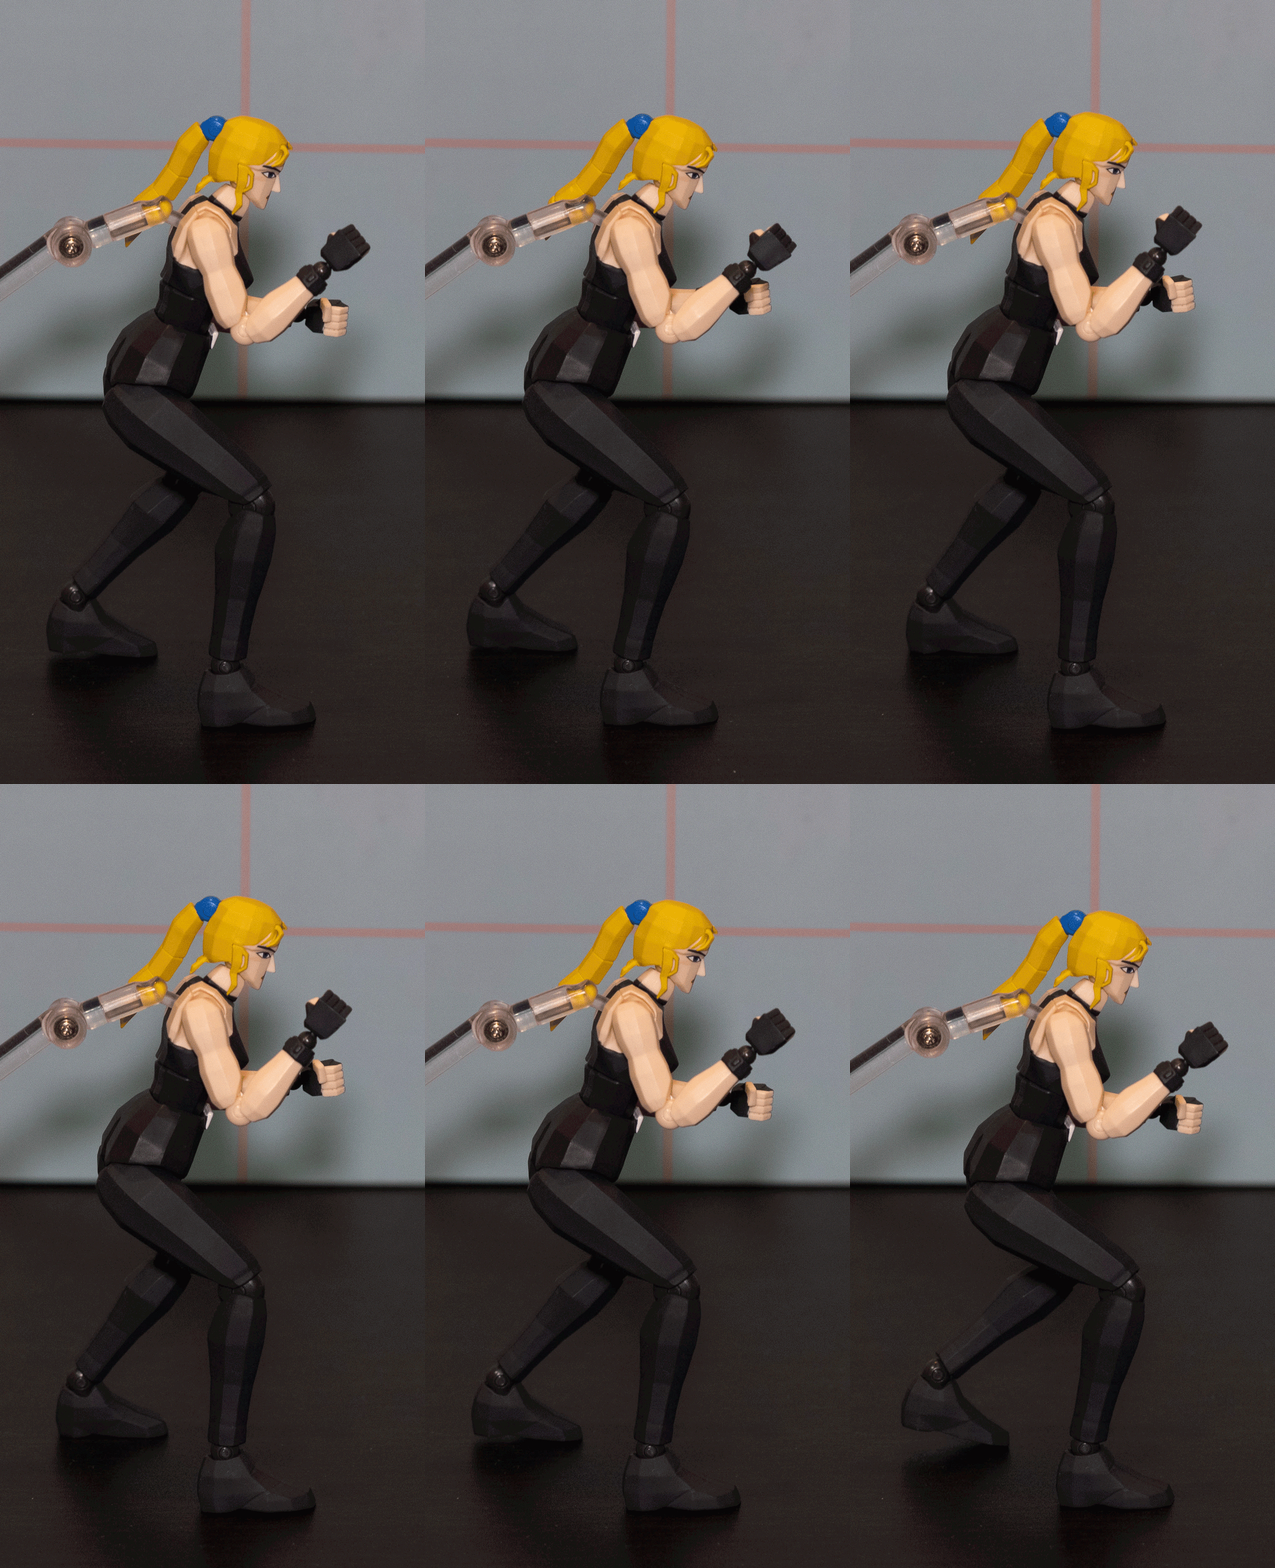
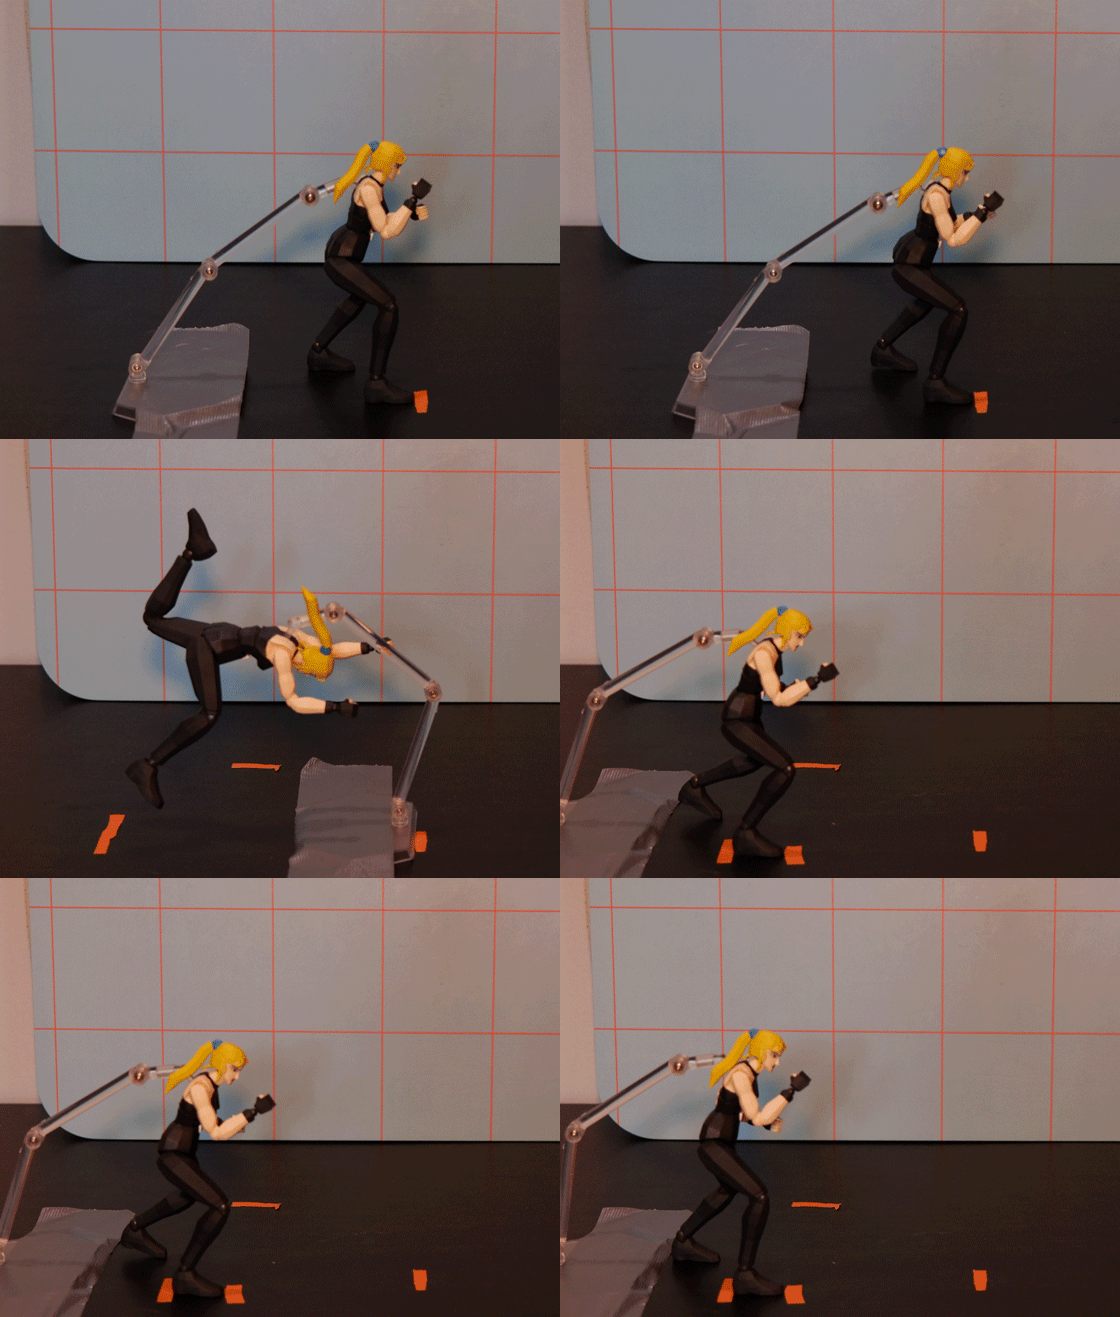
For example, things like marking spots on the set that need to remain consistent. You can see in the example animations where I have and have not implemented markers, and the difference it makes to the quality and tightness of the animation. I also worked out that I would need to do my shooting entirely after sundown to get better control of my lighting and color balance since I was working in a room with a large window that let a lot of sunlight in. As can be seen in the final proof of concept animation, the lighting and color balance don’t stay consistent throughout. Thankfully, I was able to largely mitigate any lighting and color discrepancy issues in the final product.